

UniFi Network Design Blueprint: Complete 2026 Office Setup
Step-by-step guide to designing a complete UniFi office network for 2026. Covers Dream Machine Pro Max, multi-gigabit switching for WiFi 7, U7 access points, and G6 security cameras.

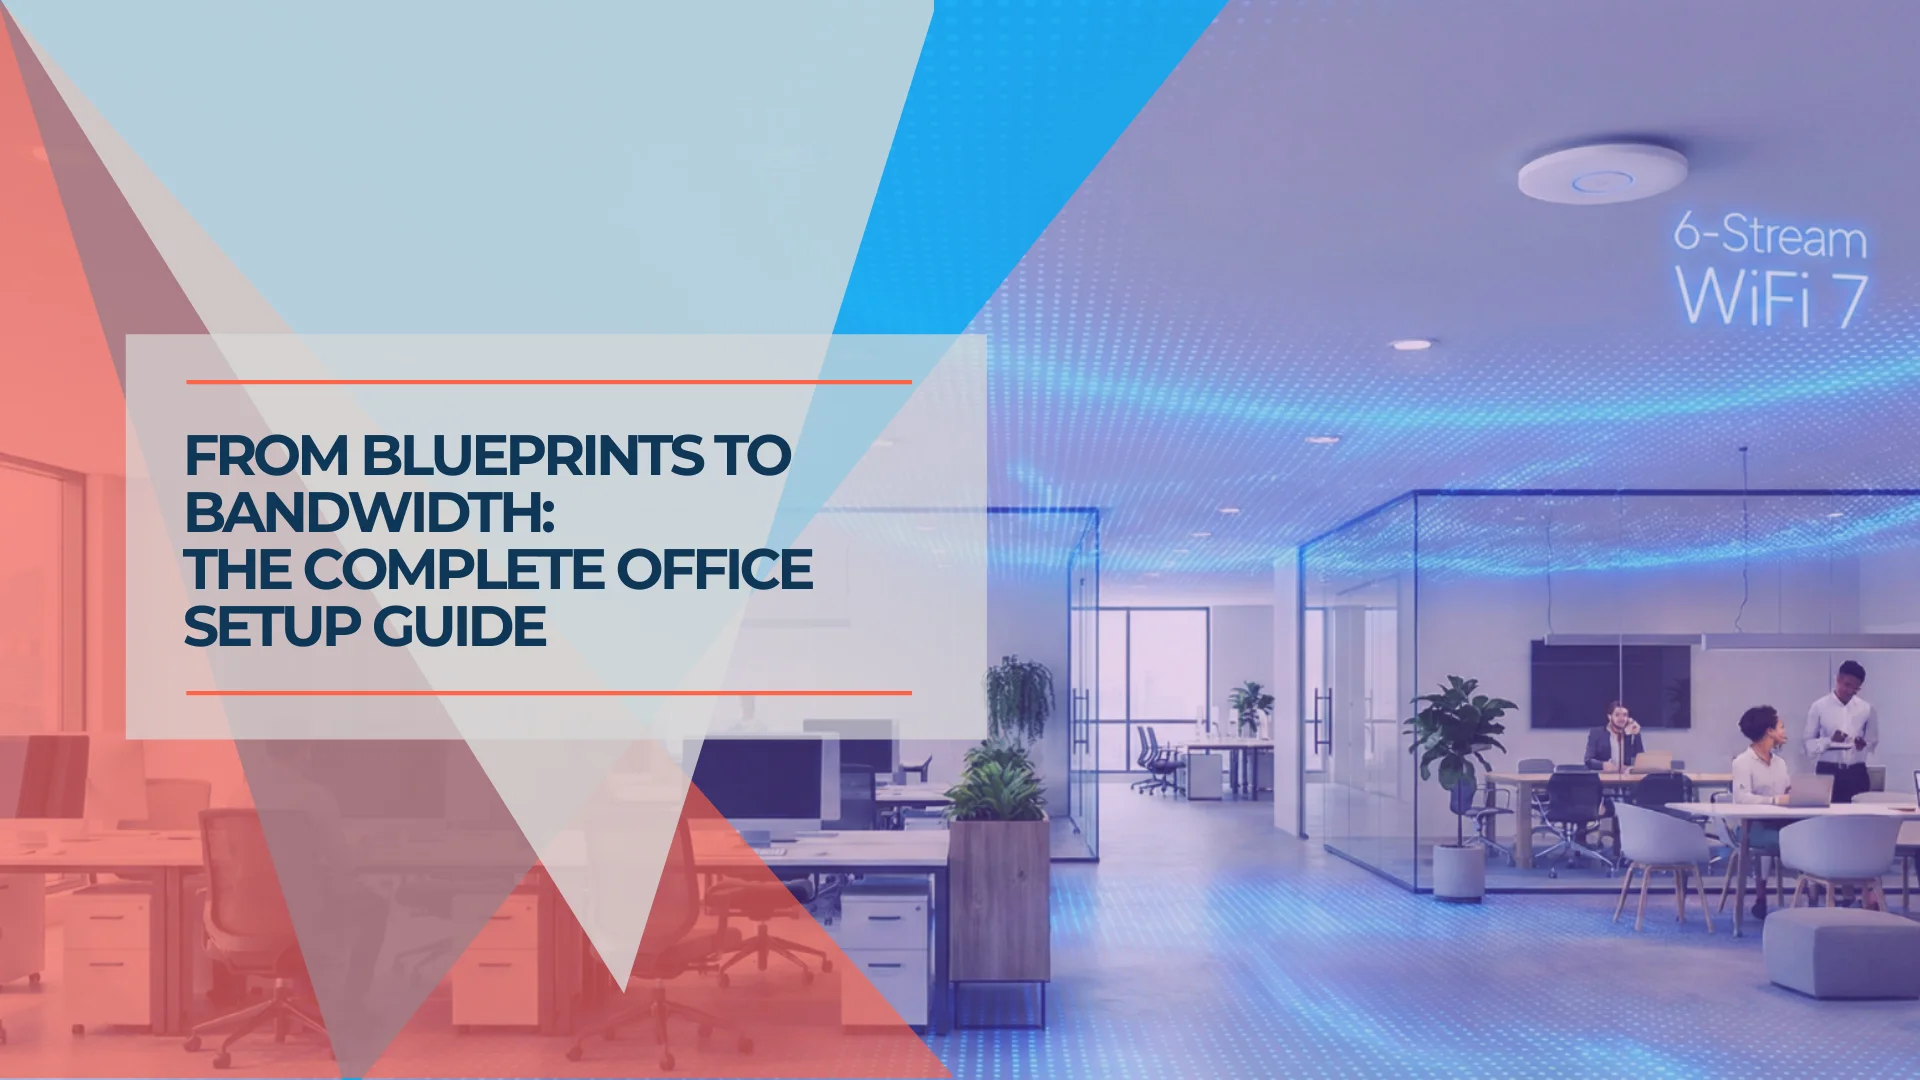
This blueprint walks through a complete UniFi office network using the current 2026 hardware lineup — from gateway and switch selection through VLAN design, zone-based firewall policies, and post-install validation. It targets offices with 20–80+ employees, wired and wireless workstations, VoIP, security cameras, and guest/IoT segmentation.
If your office has fewer than 15 employees or minimal segmentation needs, this Pro Max 48 PoE stack may be more than you need — see our UniFi Buyer's Guide for a right-sized starting point. For the full UniFi product ecosystem, this guide focuses on the planning and configuration decisions that matter most.
Prices checked August 10, 2026 against the Ubiquiti US store. All prices exclude tax and shipping and are subject to change, including tariff-related surcharges.
Affiliate Disclosure: This article contains affiliate links. If you make a purchase through these links, we may earn a small commission at no extra cost to you. As an Amazon Associate, iFeelTech earns from qualifying purchases.
Why Choose UniFi for Your Network Setup?
UniFi provides a single-vendor ecosystem where routers, switches, access points, and cameras are managed through related but distinct applications — the Network app for switching, routing and wireless, and Protect for cameras. Site Manager provides a centralized entry point across all consoles and sites. This reduces complexity compared to assembling separate vendor dashboards for each function.
Modular Expansion
UniFi's modular ecosystem allows granular scaling. You can daisy-chain additional Switch Pro Max units via SFP+ 10Gb uplinks. Wireless meshing with U7 Series access points is available as a fallback when wiring is not immediately feasible, though wired backhaul is recommended — mesh hops reduce available throughput on the shared radio.
Centralized Visibility
Network devices, APs, and gateways are managed through the Network application; cameras run in the Protect application on the same console. Cloud access via unifi.ui.com and the Site Manager portal enables remote management from anywhere.
Competitive Pricing with Trade-Offs
UniFi hardware delivers strong performance at price points below traditional enterprise vendors. The trade-off is a smaller support organization and tighter ecosystem dependency — cameras, switches, and gateways work best within the UniFi family. Optional UI Care provides expedited replacement, prepaid returns, and five-year protection for eligible devices at an additional per-device cost.
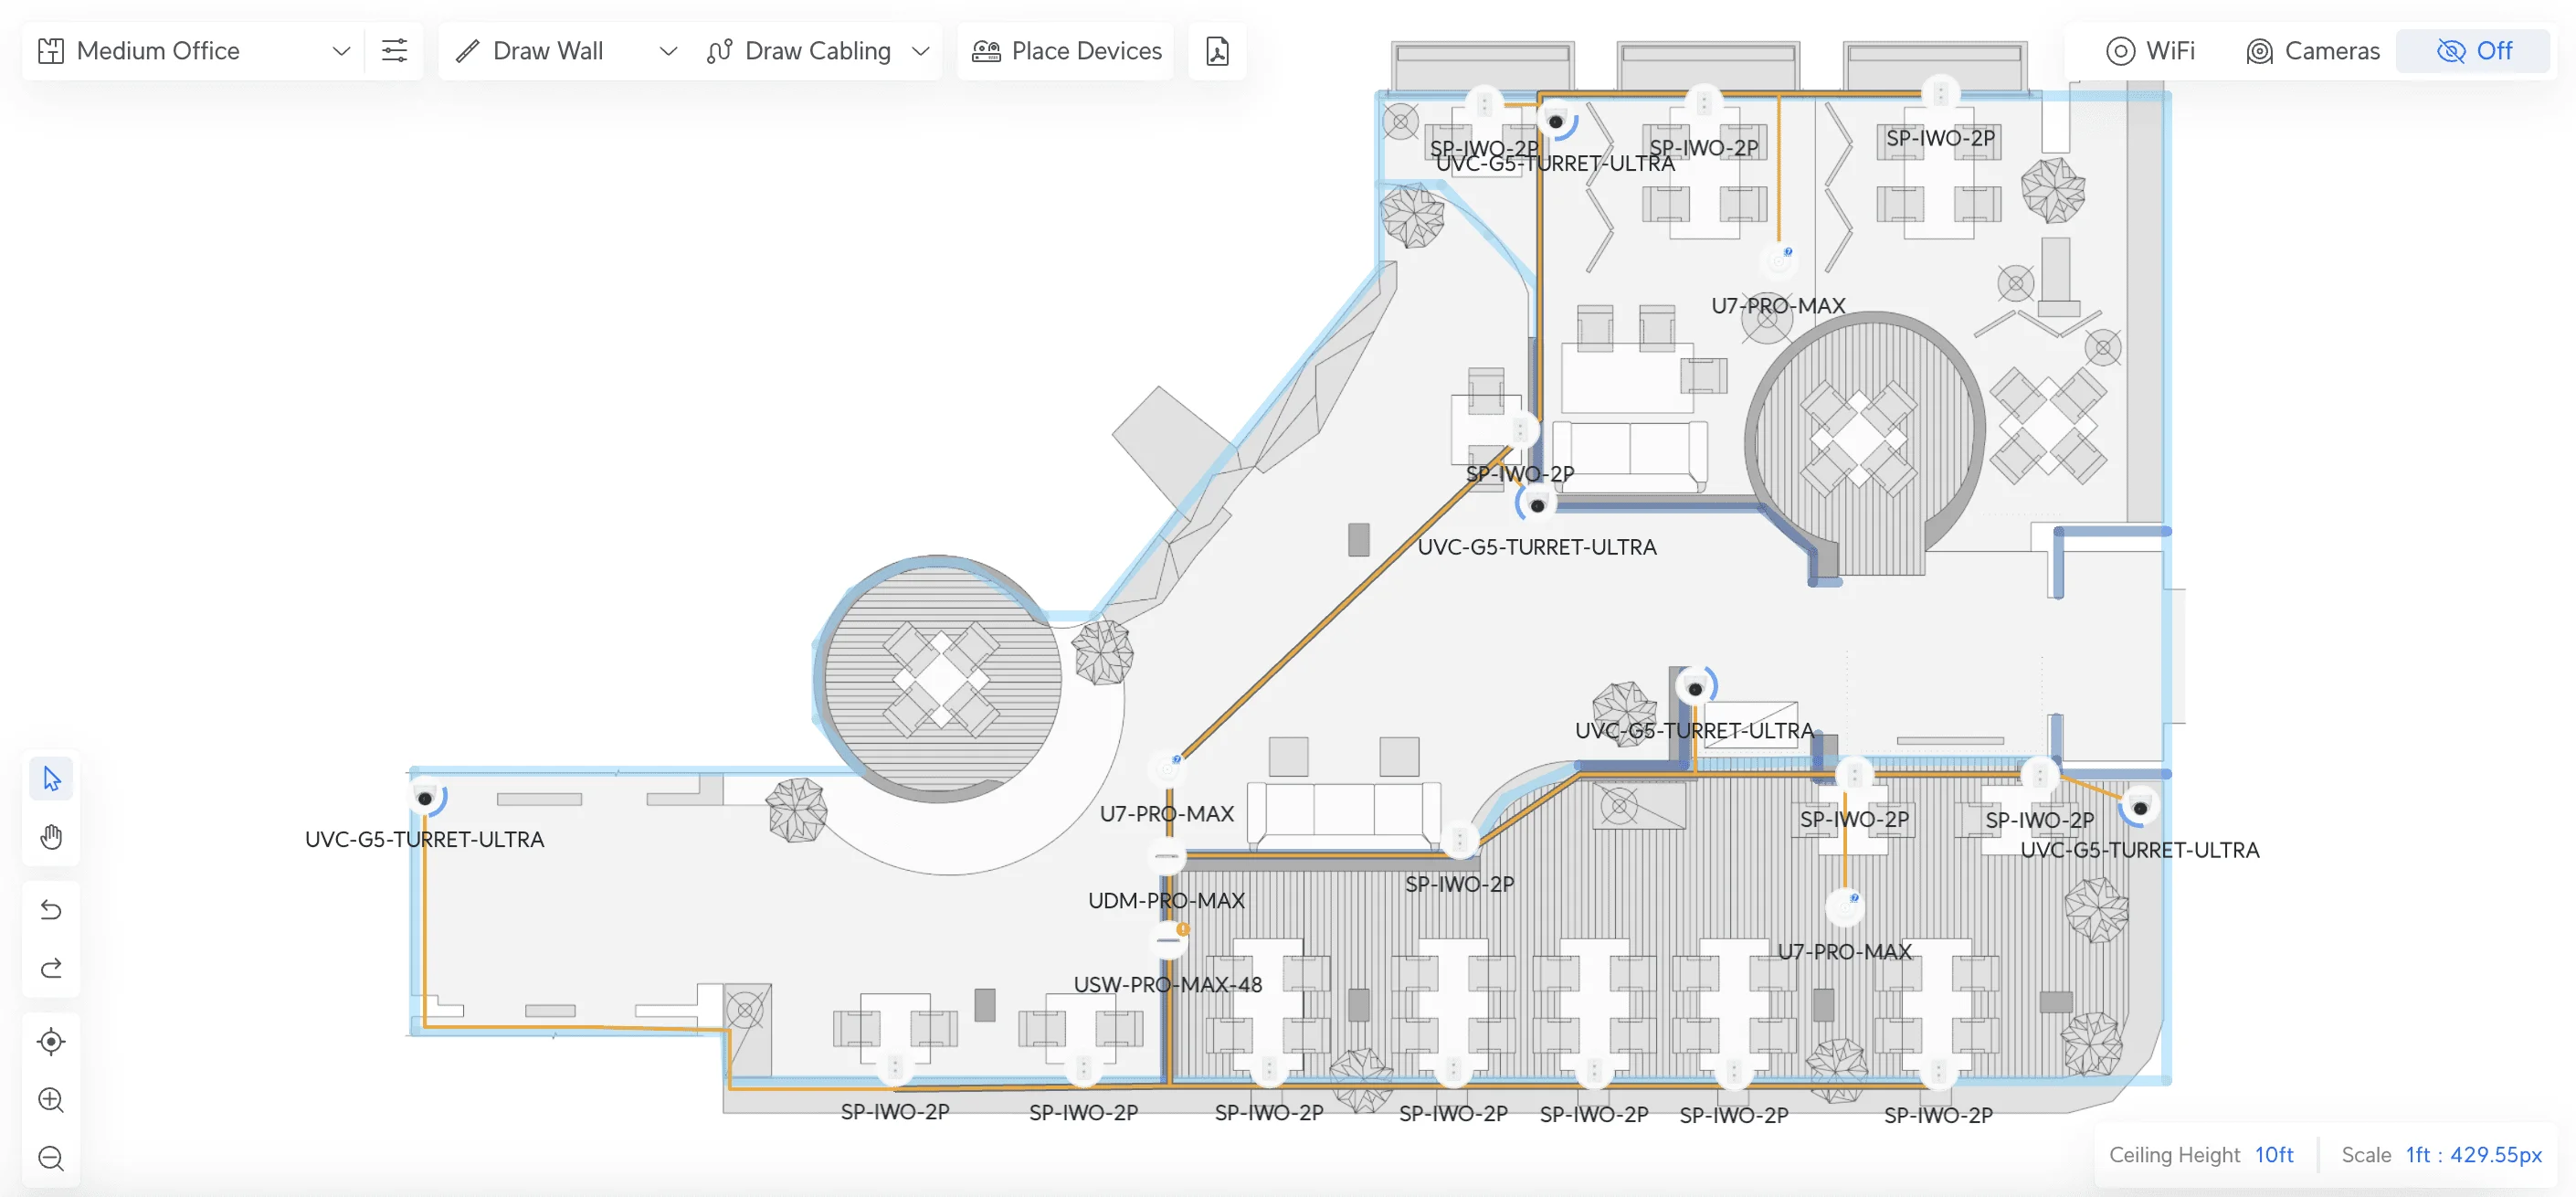
Essential Equipment for a 2026 Network Setup with UniFi
Choosing the right equipment starts with understanding your office layout, employee count, and which services (Wi-Fi, VoIP, cameras, guest access) you need. Pre-wire network cabling before installing devices — Cat6A for new builds, or verify that existing Cat5e/Cat6 supports the multigig speeds your APs and switches require.
Selecting specific products? Our UniFi Buyer's Guide provides recommendations by office size. For switch-specific guidance with PoE sizing, see our Best UniFi Switches guide.
Essential Equipment for 2026
Dream Machine Pro Max – Gateway with 5 Gbps IDS/IPS throughput, dual 3.5″ drive bays for NVR recording, built-in VPN/firewall, and Shadow Mode (VRRP) for high-availability failover (requires a second Pro Max with mirrored WAN/LAN connections).
UniFi Switch Pro Max 48 PoE – 48-port Layer 3 switch: 16 × 2.5GbE (8 PoE+, 8 PoE++) + 32 × 1GbE (24 PoE+, 8 PoE++), four 10G SFP+ uplinks, 720W total PoE budget, and Etherlighting for visual port management. A 2.5GbE PoE port prevents a 1GbE wired bottleneck on APs like the U7 Pro. The U7 Pro XG and XGS have 10GbE RJ45 uplinks — the Pro Max 48's 10G ports are SFP+ (no PoE), so these APs will negotiate at 2.5GbE on the switch's multigig PoE ports. For full 10G operation, you need either a switch with 10GbE RJ45 PoE output, or an SFP+-to-RJ45 transceiver paired with a 10G PoE adapter.
U7 Series Access Points – Wi-Fi 7 access points. The U7 Lite covers 2.4 GHz and 5 GHz only (no 6 GHz radio). The U7 Pro, U7 Pro Max, and U7 Pro XGS add the 6 GHz band. The U7 Pro XG is Ubiquiti's flagship model with a 10GbE RJ45 uplink.
UniFi G6 Series Cameras – 4K cameras with on-device AI. The G6 Bullet, Turret, and Dome include face recognition and license plate detection — all three are IP66 all-weather rated. The G6 Instant is Wi-Fi connected and USB-C powered (not Ethernet PoE), with AI capabilities included.
Cat6A Cables – Recommended for new builds to support 10GBASE-T up to 100 m. Existing Cat5e or Cat6 may support 2.5/5GbE over shorter runs — Cat6A is not a prerequisite for Wi-Fi 7, but it provides the most headroom.
Get Your Custom Equipment List
Not sure exactly what you need? Use our UniFi Network Configurator to build a personalized equipment list based on your office size, employee count, and security requirements. Configurator prices are estimates — verify current pricing at the Ubiquiti US Store before purchasing.
Sizing by Office Size
A single 48-port switch does not automatically serve 80 employees — once you count wired workstations, VoIP phones, APs, cameras, and printers, ports fill up quickly. Here are realistic configurations for three common office sizes:
~25 employees (1 × Pro Max 48 PoE — comfortable fit)
| Qty | Item | Unit Price | Extended |
|---|---|---|---|
| 1 | Dream Machine Pro Max | $646 | $646 |
| 1 | Switch Pro Max 48 PoE | $1,401 | $1,401 |
| 3 | U7 Pro (Wi-Fi) | $203 | $609 |
| 4 | G6 Bullet (cameras) | $228 | $912 |
| 1 | 10G SFP+ DAC cable (gateway–switch uplink) | ~$13 | $13 |
| Hardware subtotal | $3,581 |
Port usage: ~15 wired workstations + 6 VoIP phones + 3 APs + 4 cameras + 2 printers = 30 ports of 48 available.
~50 employees (1 × Pro Max 48 PoE + 1 × Pro Max 24 PoE)
| Qty | Item | Unit Price | Extended |
|---|---|---|---|
| 1 | Dream Machine Pro Max | $646 | $646 |
| 1 | Switch Pro Max 48 PoE | $1,401 | $1,401 |
| 1 | Switch Pro Max 24 PoE | $862 | $862 |
| 5 | U7 Pro (Wi-Fi) | $203 | $1,015 |
| 6 | G6 Turret (cameras) | $228 | $1,368 |
| 2 | 10G SFP+ DAC cables | ~$13 | $26 |
| Hardware subtotal | $5,318 |
Port usage: ~30 wired workstations + 15 VoIP phones + 5 APs + 6 cameras + 3 printers = 59 ports across 72 available.
80+ employees — requires additional access switches. Count every wired endpoint, phone, AP, and camera to determine how many switch ports you need, then add 20% headroom. PoE budget must cover all powered devices simultaneously; verify with the PoE budget calculator.
What These Prices Exclude
Surveillance hard drives, UPS, rack/enclosure, patch panels, cabling and labor, and tax/shipping are not included above. Budget approximately $20–$50 per cable run for materials and connectors, $100–$300 for a UPS, and $60–$350 per surveillance HDD depending on capacity. For a complete accessories checklist, see our cabling installation guide.
Network Topology and Design
Layout and Device Placement
Place network devices based on your floor plan and coverage requirements:
- Access Points: To ensure strong Wi-Fi coverage, access points should be placed in central locations, such as open workspaces and meeting rooms. Avoid physical obstructions like thick walls, which can weaken signals.
- Switch: Position your switches in a secure area, such as a network closet or server room, where they are easy to access for maintenance yet protected from interference or accidental damage.
- Cameras: UniFi G6 Series Cameras should be installed at entrances, hallways, and shared spaces. Choose Turret for ceiling mounts with flexible 3-axis aiming, Bullet for wall-mount perimeter coverage, Dome for vandal-resistant high-traffic areas, or Instant for quick Wi-Fi deployments without Ethernet cabling. All wired G6 models (Bullet, Turret, Dome) are IP66 all-weather rated and connect via PoE; the G6 Instant connects over Wi-Fi and uses USB-C power.
Pre-Wiring for Flexibility
An often-overlooked part of network setup is the pre-wiring of network cables. For new builds, Cat6A is the recommended choice — it supports 10GBASE-T up to 100 m and gives the most headroom. Existing Cat5e or Cat6 can support 2.5GbE and sometimes 5GbE over shorter runs, so a complete re-cable may not be necessary if your existing infrastructure qualifies. Whether setting up a new office or remodeling, having network cabling verified and in place before device installation saves time and reduces costly changes.
Wi-Fi Coverage: Leveraging 2.4 GHz, 5 GHz, and 6 GHz Bands
Wi-Fi 7 APs with tri-band support (U7 Pro and above) can use the 6 GHz band — first introduced in Wi-Fi 6E — alongside the traditional 2.4 GHz and 5 GHz bands. Wi-Fi 7 adds features like 320 MHz channels and Multi-Link Operation (MLO), subject to client and regional support:
Wi-Fi Band Selection
2.4 GHz – This band provides the most comprehensive coverage but operates at slower speeds, making it suitable for devices farther from access points or less demanding tasks.
5 GHz – This frequency offers higher speeds but a shorter range, making it ideal for bandwidth-heavy tasks like video conferencing or file sharing in close proximity to access points.
6 GHz (Wi-Fi 6E/7) – Provides additional spectrum and significantly less legacy congestion than 5 GHz. Range is broadly similar to or slightly below 5 GHz depending on power and obstructions — the advantage is capacity, not coverage distance. Requires WPA3 and compatible client devices; 6 GHz availability varies by region. Only available on the U7 Pro and higher — the U7 Lite does not have a 6 GHz radio.
Plan AP placement to achieve at least -65 dBm RSSI and 25 dB SNR at workstation height across all coverage areas. Validate with a post-install survey — real-world obstructions, interference sources, and client mix will affect actual performance.
Security and Monitoring Integration
Security is an integral part of your network design. UniFi G6 Series Cameras connect through the same infrastructure and are managed via the Protect application on your UniFi console. Network devices use the Network application. Both applications run on the same console hardware and are accessible through Site Manager, but they are distinct interfaces — not a single unified dashboard for all functions.
Network Configuration Blueprint
A proper office network requires logical segmentation to separate traffic types, improve security, and simplify management. This VLAN structure is our recommended starting point for most office deployments.
Recommended VLAN Structure
| VLAN ID | Name | Purpose | Subnet | DHCP Range |
|---|---|---|---|---|
| 99 | Management | Switches, APs, gateway admin | 10.0.99.0/24 | 10.0.99.100-199 (static or reserved IPs for infrastructure devices) |
| 10 | Corporate | Employee workstations | 10.0.10.0/24 | 10.0.10.100-254 |
| 20 | Voice | VoIP phones | 10.0.20.0/24 | 10.0.20.100-254 |
| 30 | Cameras | Protect cameras | 10.0.30.0/24 | 10.0.30.100-254 |
| 40 | IoT | Printers, displays, smart devices | 10.0.40.0/24 | 10.0.40.100-254 |
| 50 | Guest | Visitor WiFi (isolated) | 10.0.50.0/24 | 10.0.50.100-254 |
Why Segment Your Network?
VLAN segmentation limits lateral movement when paired with restrictive firewall policies. VLANs create logical separation, but firewall rules and isolation policies enforce the boundary — UniFi's default inter-VLAN behavior can still permit traffic if policies are not explicitly configured. PCI DSS strongly recommends segmentation to reduce scope but does not universally require it. HIPAA requires reasonable safeguards based on risk assessment — it does not prescribe VLANs specifically. This design uses VLAN 99 as a dedicated management VLAN rather than the default VLAN 1, keeping infrastructure management traffic isolated from all user and device networks.
Port Profile Configuration
The Switch Pro Max 48 PoE supports port profiles to simplify VLAN assignment. Create reusable Ethernet port profiles in the Network application:
| Profile Name | VLAN Mode | Native VLAN | Tagged VLANs | Use Case |
|---|---|---|---|---|
| AP Trunk | Trunk | 99 (Mgmt) | 10, 20, 40, 50 | Access Points |
| Camera | Access | 30 | None | Protect cameras |
| Workstation | Access | 10 | None | Employee PCs |
| VoIP Phone | Access | 20 | None | Desk phones |
Assign profiles under Devices → Switch → Ports → Port Manager in the current Network UI. Reusable Ethernet port profiles are also available under Settings → Profiles. See the current switch settings guide for the latest navigation.
Zone-Based Firewall Policies
UniFi Network 9.0+ uses zone-based firewalling. Group your VLANs into zones and apply policies between them. The general approach is default-deny between zones with explicit exceptions for required services:
| Source Zone | Destination Zone | Policy | Notes |
|---|---|---|---|
| Guest | All Internal | Block | Use the Hotspot portal or Guest zone; enable client isolation |
| IoT | All Internal | Block | Allow only necessary services (DHCP, DNS, NTP via gateway) |
| Cameras | Gateway + NVR IP | Allow | Cameras need DHCP, DNS, NTP, adoption/update paths, and NVR access |
| Cameras | All Other Internal | Block | Prevent camera-to-workstation traffic |
| Voice | Internet + Gateway | Allow | VoIP needs DNS, NTP, SIP/RTP to provider; allow local PBX IP if applicable |
| Voice | All Other Internal | Block | Prevent phone-to-workstation traffic |
| Authorized Admin Devices | Management | Allow | Only designated admin workstations/IPs can reach VLAN 99 |
| All Other Internal | Management | Block | Prevent user/device VLANs from reaching management interfaces |
| Management | Infrastructure Services | Allow | Management devices need access to DHCP, DNS, NTP, firmware updates |
This is a starting framework — adapt it to your specific services. A "Cameras → NVR only" rule that forgets gateway services (DHCP, DNS) will break camera adoption. A "Voice → Internet only" rule may break a local PBX or provisioning server. Test each policy thoroughly after applying.
For IPv6, apply equivalent zone policies or disable IPv6 on internal networks if your deployment does not require it.
Installation Steps
Step 1: Mounting and Pre-Wiring
Begin by mounting all devices — switches, access points, and cameras — in the locations determined during your planning phase. For new cable runs, use Cat6A for maximum headroom. Verify existing runs against the multigig speed requirements of each device (2.5GbE for most APs; the U7 Pro XG and XGS have 10GbE RJ45 interfaces but will negotiate at 2.5GbE on the Pro Max 48's multigig PoE ports). Include a UPS for the network rack and budget for patch panels, an SFP+ DAC cable for the gateway-to-switch uplink, and cable management.
Step 2: Set Up the Dream Machine Pro Max
Once the devices are mounted, start by turning on the Dream Machine Pro Max and connecting it to the Internet via the WAN port. If you're unsure whether the Pro Max is the right gateway for your needs, see our UniFi Gateway Comparison Guide for alternatives.
First-Boot Wizard:
- Connect via Mobile App or Web: Access the setup wizard through the UniFi Network mobile app or navigate to unifi.ui.com in a browser.
- Sign In: Enter your UI.com account credentials. If upgrading from an existing setup, select Restore from Cloud Backup to migrate your configuration.
- Configure Networks: Create your VLANs as outlined in the Configuration Blueprint above. At minimum, create Corporate, Guest, and IoT networks.
- Set Admin Password: Configure a strong local admin password separate from your UI.com credentials.
- Enable IDS/IPS (post-setup): After the wizard completes, navigate to Settings → CyberSecure → Protection to enable IDS/IPS. Choose Notify or Notify and Block and select detection categories appropriate to your environment. The Pro Max supports up to 5 Gbps IDS/IPS throughput regardless of sensitivity setting. See the IDS/IPS documentation for current configuration options.
Step 3: Connect Your Switches and Access Points
With the Dream Machine Pro Max online, connect the UniFi Switch Pro Max 48 PoE to the gateway using a 10G SFP+ DAC cable between the gateway's SFP+ port and one of the switch's four SFP+ uplinks. This provides a 10 Gbps switch uplink — a standard 1GbE Ethernet cable would bottleneck aggregated traffic from all connected devices. Once connected, verify the link through the Port View page in the Network application — the Etherlighting feature makes physical port identification easy.
Each U7 Series Access Point should be connected to the switch using PoE (Power over Ethernet), simplifying the installation by reducing the need for additional power cables. Choose U7 Pro for most offices, U7 Pro Max for high-density areas, or U7 Lite for smaller spaces. For guidance on AP placement and density, see our WiFi 7 Access Points Guide. After connecting the access points, configure Wi-Fi settings in the management interface to ensure proper coverage across your office.
Step 4: Camera Setup and Integration
Next, set up your security cameras. Wired UniFi G6 Series Cameras (Bullet, Turret, Dome) connect to the switch via PoE. The G6 Instant is Wi-Fi connected and USB-C powered — it does not use an Ethernet PoE data connection (an optional PoE-to-USB-C adapter is available). The G6 generation (released March 2025) features on-device AI processing for Face Recognition and License Plate Recognition (LPR) on the Bullet, Turret, Dome, and Instant models. Choose Turret for ceiling mounts with adjustable aiming, Bullet for wall-mount perimeter coverage, or Dome for IK10 vandal-resistant installations — all three are IP66 all-weather rated.
After mounting, configure the cameras through UniFi Protect to define detection zones, enable smart alerts, and set retention policies. For help calculating storage requirements, use our Protect Storage Planning Guide.
UniFi Protect: AI-Powered Security for Your Office
Platform Capabilities
PoE Simplification
APs, cameras, and VoIP phones all draw power through the same Ethernet cable that carries data. This eliminates separate power runs to each device. See our Power over Ethernet Guide for PoE standards, budgeting, and cable-length considerations.
VPN and Remote Access
The Dream Machine Pro Max includes built-in VPN server support (WireGuard, OpenVPN, L2TP) and Teleport for zero-configuration remote access. Site Magic provides license-free SD-WAN between UniFi sites. These features require no additional licensing.
Firmware and Software Updates
UniFi regularly releases firmware and Network application updates. The current official branch is Network 10.x. Always back up your configuration before updating, test on a non-critical site first if possible, and monitor the Ubiquiti Community releases page for known issues before applying to production.
Scaling and Satellite Offices
As businesses grow, the demands on your network will increase. UniFi's modular approach lets you add switches, APs, and cameras to an existing site without replacing the core infrastructure. Cat6A cabling and multigig switching provide headroom for the expected planning period.
Smaller or Satellite Offices
For smaller satellite offices or home setups that don't require the full Pro Max stack, consider:
- UniFi Express 7 – Compact Wi-Fi 7 Cloud Gateway supporting 30+ managed UniFi devices and 300+ simultaneous users, with 2.3 Gbps IDS/IPS
- Dream Router 7 – Desktop gateway with built-in Wi-Fi 7 AP for home offices
Each Cloud Gateway hosts its own site and runs its own Network application instance. They do not join the headquarters Network application as managed devices. Site Manager and Site Magic SD-WAN provide centralized visibility and inter-site connectivity, respectively. For a small office that does warrant the full Pro Max stack — cameras, door access, and Wi-Fi 7 — see our 7-person professional office case study.
WAN Redundancy vs. Gateway HA
These solve different failure scenarios. WAN redundancy (dual ISP with failover) protects against ISP outages. Gateway HA (Shadow Mode on the Pro Max) protects against gateway hardware failure — it requires a second identical gateway with mirrored WAN and LAN connections. Evaluate which failure mode is more likely for your environment; many offices benefit more from dual-WAN than from gateway HA.
Next Steps
This architecture starts with one Pro Max 48 PoE for approximately 20–30 employees and scales to 80+ employees by adding access switches based on endpoint and PoE requirements. If your office has fewer than 15 employees and no camera/access requirements, a Cloud Gateway Ultra or Dream Router 7 with a smaller switch may be more appropriate — see our UniFi Buyer's Guide for right-sizing guidance.
After deployment, validate your setup:
- Test wired throughput between VLANs — confirm isolation policies block unauthorized cross-VLAN traffic
- Verify Wi-Fi coverage meets the -65 dBm / 25 dB SNR targets at workstation height
- Confirm camera feeds are recording and retention policies are active in Protect
- Test VPN connectivity from a remote location
- Document your VLAN, port, and firewall configuration for future reference
At iFeeltech, we specialize in helping businesses design and implement UniFi-based networks tailored to their specific requirements. Whether setting up a new office, expanding existing infrastructure, or migrating from another vendor, our team provides network design, professional cabling, and ongoing support.
Related Resources
Deep Dives by Topic
Hardware Selection:
- UniFi Gateway Comparison Guide – Compare all 2026 gateways
- UDM Pro Max Review – In-depth review of the flagship gateway
- WiFi 7 Access Points Guide – AP selection and placement
- Pro Max Etherlighting Guide – Master the new switch features
Security & Cameras:
- UniFi Protect Guide – Complete camera system setup
- Protect Storage Planning – Calculate retention and storage
- Network Security Guide – Firewall rules and threat management
Planning Tools:
- UniFi Network Configurator – Build your custom equipment list
- Network Cabling Services – Professional Cat6A installation
- Browse UniFi Store – Shop all UniFi networking equipment
Related Articles
More from UniFi Networks
UniFi Protect vs. Reolink vs. TP-Link: Which Camera System Is Best for Your Business?
UniFi Protect, Reolink, and TP-Link (Tapo vs. VIGI) compared for small business use — current 2026 lineups, real 8-camera pricing, and iFeelTech's multi-year UniFi fleet reliability data.
19 min read
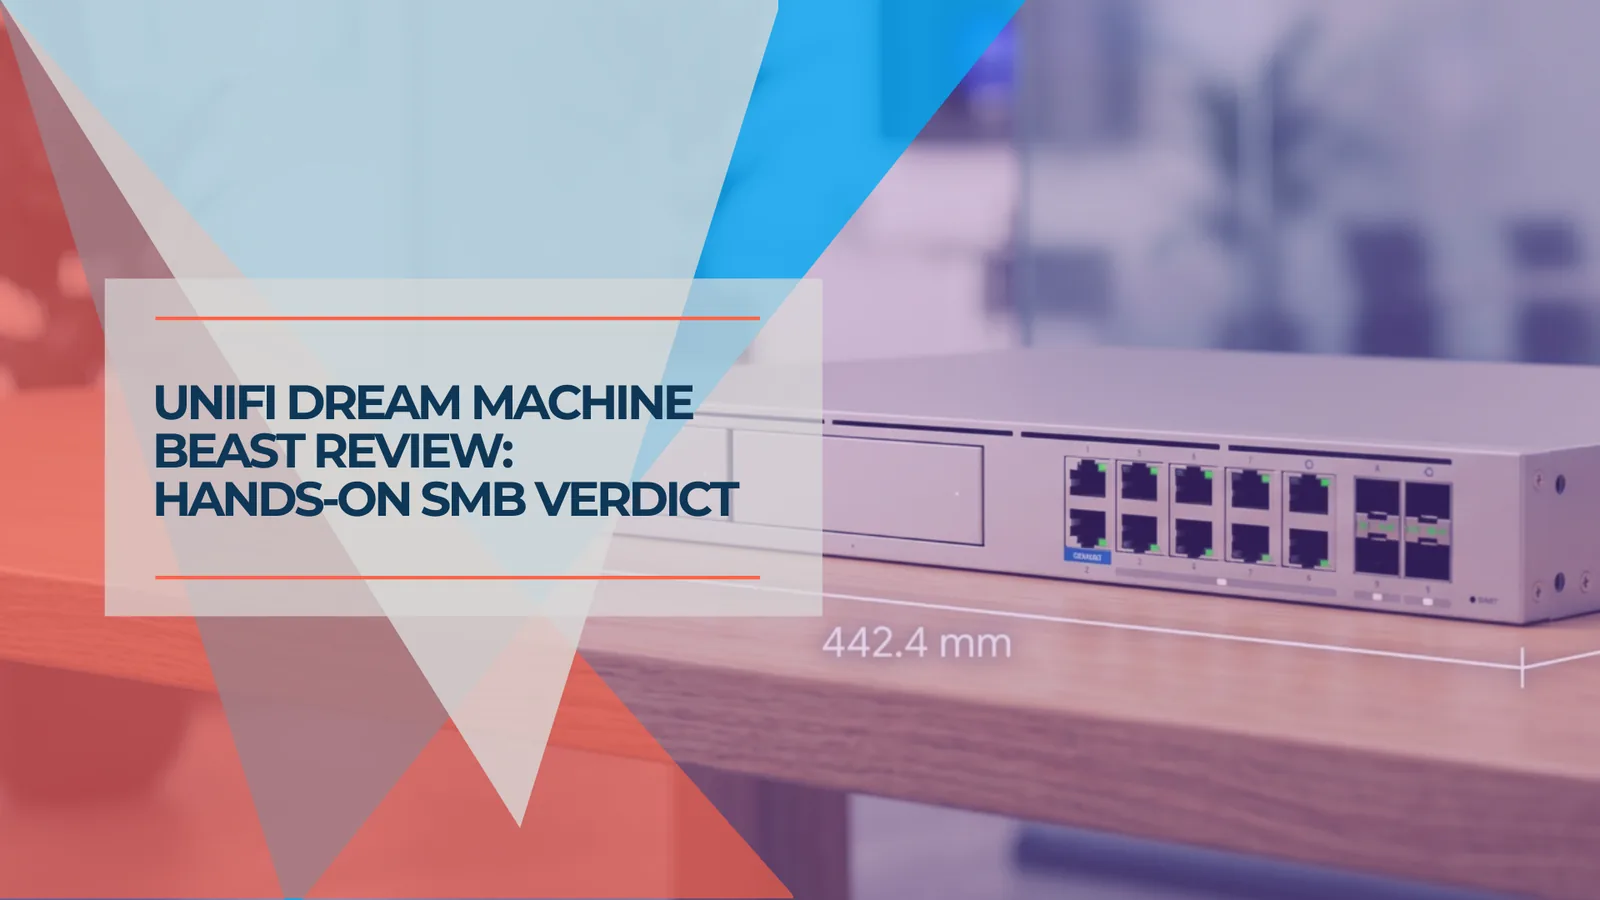
UniFi Dream Machine Beast Review 2026: Hands-On SMB Verdict
A hands-on UniFi Dream Machine Beast review from an SMB integrator: official specs, real deployment notes, 100W power draw, the no-PoE catch, and who the $1,499 gateway is actually for.
13 min read
We Ran 538 Ubiquiti Devices for 4 Years. Here's What Actually Failed.
Real fleet data: 538 UniFi devices tracked over 4 years. 0.74% replacement rate, 99.99% core uptime, and five incident post-mortems from commercial sites.
15 min read